Garlic cream sauce takes 8 minutes from a cold pan to the table, which makes it one of the most practical sauces in a weeknight rotation. Six ingredients, no specialty cheeses, and a thick, rich result that works on pasta, chicken, fish, and pizza.
Why You'll Love This Easy 8-Minute Cream Sauce
- Budget Friendly You can skip the expensive imported cheeses because this recipe relies on heavy cream and basic pantry staples to create a rich flavor.
- Ready in 8 Minutes You can finish the entire sauce in just 8 minutes, which is often faster than waiting for a pot of pasta water to boil.
- Simple Ingredients This recipe uses only six real food items that you likely already have in your kitchen.
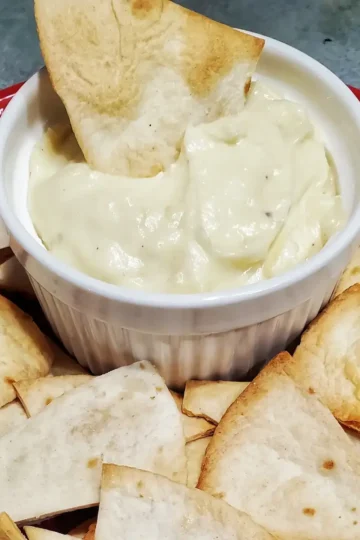
- Versatility While it tastes great on pasta, it also works as a savory dip for pepperoni bread or a topping for roasted meats and tray bakes. This is an ideal sauce for fish and chicken also.
- Stable and Reliable The cornstarch slurry keeps the sauce from breaking or separating, which makes it more forgiving than a cream sauce built on cheese or egg yolks.
Ingredients for the Easy Garlic Sauce
- Heavy Whipping Cream The fat content in heavy cream is what produces the rich, velvety body of this sauce. Half-and-half or lighter creams work but produce a noticeably thinner result that the cornstarch has to work harder to thicken.
- Cornstarch The thickening agent that makes this sauce come together in 8 minutes without a roux. It must be mixed with room temperature water before going into the hot cream. Adding dry cornstarch directly to hot liquid causes it to clump immediately and won't smooth out no matter how long you stir. The sauce must reach a boil after the slurry is added to fully activate the starch and achieve the right thickness.
- Water Mixed with the cornstarch at room temperature to form a smooth slurry before it goes into the hot cream. Cold or warm water both work as long as the cornstarch is fully dissolved before adding.
- Fresh Garlic Two cloves finely diced or passed through a garlic press. Fresh garlic produces a noticeably more pungent, aromatic result than jarred. If you want a milder, sweeter garlic flavor, roast the cloves first as described in the roasting section below. Using fresh cloves provides a pungent, aromatic punch that jarred garlic cannot match.
- Sea Salt and Cracked Black Pepper Season the sauce as it heats rather than at the end. Salt added early distributes more evenly through the cream as it warms.
Making the Quick Garlic Sauce
- Heat the Cream Pour the cream into a medium skillet over medium-high heat.
- Season Add the sea salt, pepper, and garlic. Stir occasionally until the liquid is hot to the touch (about 130°F).
- Prepare the Slurry In a small bowl, whisk the cornstarch and room temperature water until smooth.
- Thicken Slowly pour the slurry into the skillet while stirring constantly. Continue stirring over medium heat to prevent clumps.
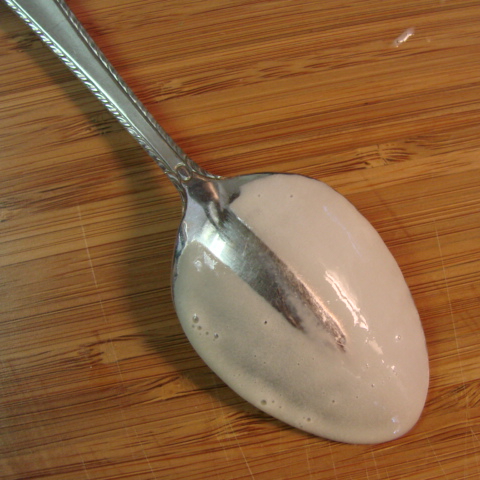
- Testing for Thickness After about 5 minutes, the sauce should coat the back of a spoon. Draw a line through the sauce on the spoon; if the line stays clear, it is ready. This is a great test for pastry creams and sauces.
Tips on Making the Best Garlic Sauce
- Roasting the garlic before adding it to the sauce produces a milder, sweeter flavor than raw garlic. Roast a whole head at 400 degrees F wrapped in foil for 40 minutes, then squeeze the softened cloves directly into the cream.
- The spoon test is the most reliable way to gauge thickness. Dip a spoon, run your finger through the sauce on the back, and if the line stays clear the sauce is ready. A thermometer reading of around 203 degrees F also confirms the cornstarch has fully activated.
- This sauce thickens further as it cools off the heat. If you're serving it over pasta, pull it slightly before your ideal thickness since it will continue to set on the plate.
- Fresh garlic added at the beginning of heating rather than to cold cream produces a more developed, less sharp garlic flavor by the time the sauce is ready.
Troubleshooting Your Garlic Sauce
- Lumpy Texture This usually happens if the cornstarch is added directly to hot liquid or if you stop stirring. Always mix the cornstarch with room temperature water first to create a smooth slurry.
- Sauce is Too Thin If the sauce has not thickened after five minutes, keep it on the heat for another minute or two. The cornstarch needs to reach a specific temperature to thicken the sauce.
- Sauce is Too Thick This sauce can become very dense as it sits. Simply stir in a tablespoon of milk or water at a time until you reach your preferred consistency.
- Sauce tastes flat The garlic may not have had enough time to bloom in the hot cream. Next time let the cream and garlic heat together for a full two minutes before adding the slurry. A pinch of extra salt also sharpens the flavor significantly.
- Sauce broke and looks curdled The heat was too high. Heavy cream can break if it reaches a hard boil rather than a gentle one. Remove from heat immediately, let cool for two minutes, and whisk vigorously. Adding a tablespoon of cold cream while whisking can help bring it back together.
Roasting Garlic Before Adding it To the Garlic Sauce
Roasting your garlic before adding it to the sauce will take the edge off of the raw garlic. Roasted garlic has a more mellow garlic flavor than the sometimes overpowering raw garlic.
Other Ideas for Your Garlic Sauce
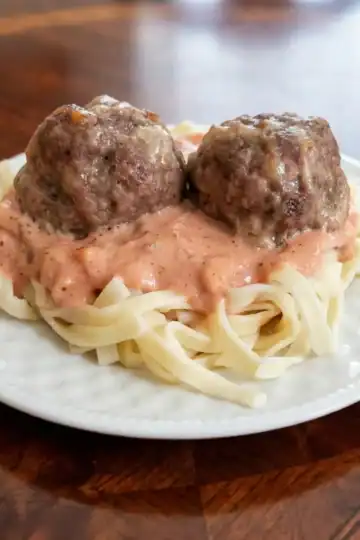
- Pasta sauce is always the first that comes to mind when making this sauce. We have tried it on roasted veggies and chicken. Usually with a tray bake or sheet pan bake. Tray bakes are easy to slap together with whatever you have around. Roast the veggies and/or meats. Then dish them up and add the sauce.
- Try my pasta recipe to make with the garlic cream sauce!
- You can also use this as a dip for my pepperoni bread!
- It is the base for my zucchini pizza and can be a base for other pizzas.
- Use it as a dip for my city chicken recipe.
Want to save or adapt this recipe using AI? Use the buttons below.
FAQ's
This garlic cream sauce comes together in about 8 minutes. It is ideal for a last minute meal.
Yes. The recipe starts with raw garlic, but you can easily make it milder by incorporating roasted garlic for a richer finish.
This is a thick sauce, but it's very easy to thin out. Simply add a bit of regular milk gradually while stirring until it reaches your desired consistency for salads or other dishes.
Join My Email List!
Get no-fuss recipes and real-world kitchen skills sent straight to your inbox.
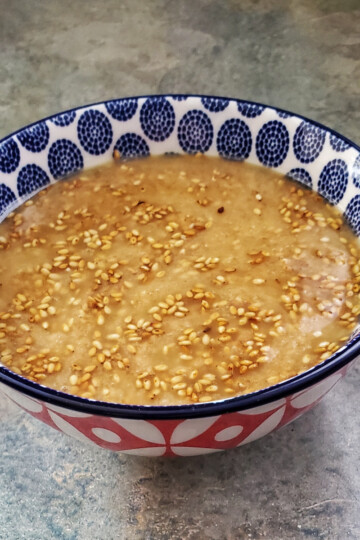
It's ideal on roasted vegetables, beef, pork, or chicken. It also works wonderfully as a dip for things like pepperoni bread and shawarma.
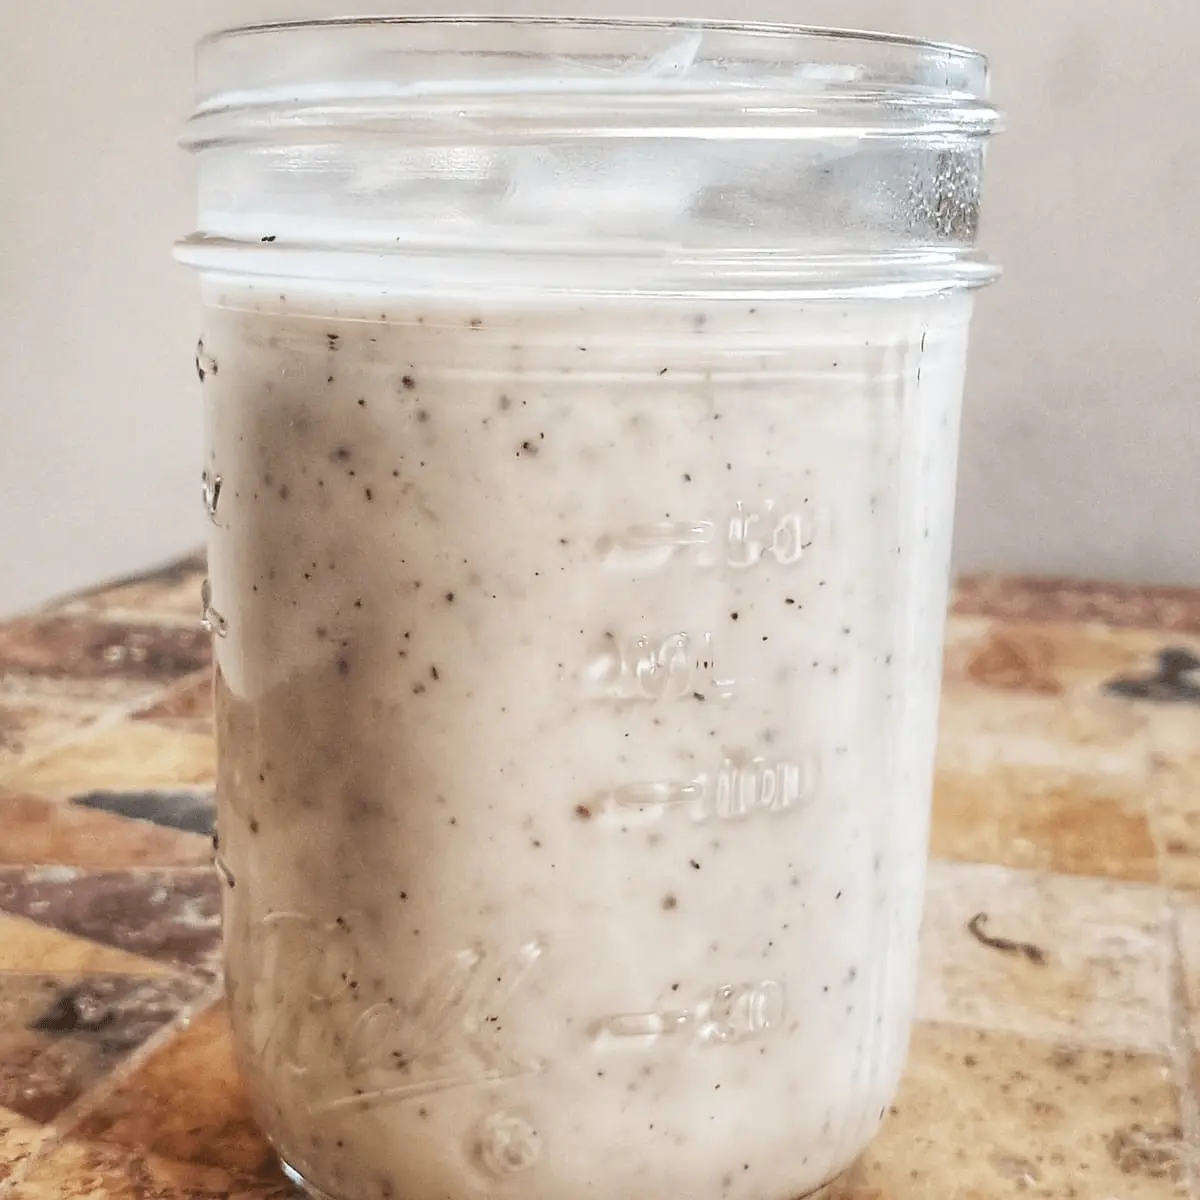
Yes. You can make a batch of this garlic sauce and store it in the fridge. It's a great option to have on hand for quick meals throughout the week.
Recipe
8-Minute Garlic Cream Sauce for Quick Dinners
Ingredients
- 2 garlic cloves finely diced or passed through a garlic press
- 2 cups whipping cream
- ½ teaspoon of sea salt
- ½ teaspoon of cracked black pepper
- 2 tablespoons of cornstarch
- ¼ cup of room temperature water
Method
- Pour the cream into a medium skillet over medium-high heat.
- Add the sea salt, pepper, and diced garlic. Stir occasionally until the cream is hot to the touch, about 130 degrees F.
- In a small bowl, whisk the cornstarch and room temperature water together until completely smooth.
- While stirring the cream constantly, slowly pour in the cornstarch slurry. Bring the sauce to a gentle boil while continuing to stir. Do not stop stirring or step away from the pan.
- Once the sauce reaches a boil and begins to thicken, reduce the heat to medium and continue stirring until it coats the back of a spoon. Draw a line through the sauce on the spoon. If the line holds clear, it is ready.
- Remove from heat and serve immediately, or stir in a splash of milk or water to loosen the consistency if needed.

Leave a Reply
You must be logged in to post a comment.